Creating labels using the built-in database in Labeller
Below you will find a tutorial teaching you how to create a label using Labeller's built-in database
Above is a Youtube video we made to show you how to create a label from the built-in database in Labeller.
Below are step by step instructions that follow the same steps as in the video.
1. Creating the database
a)
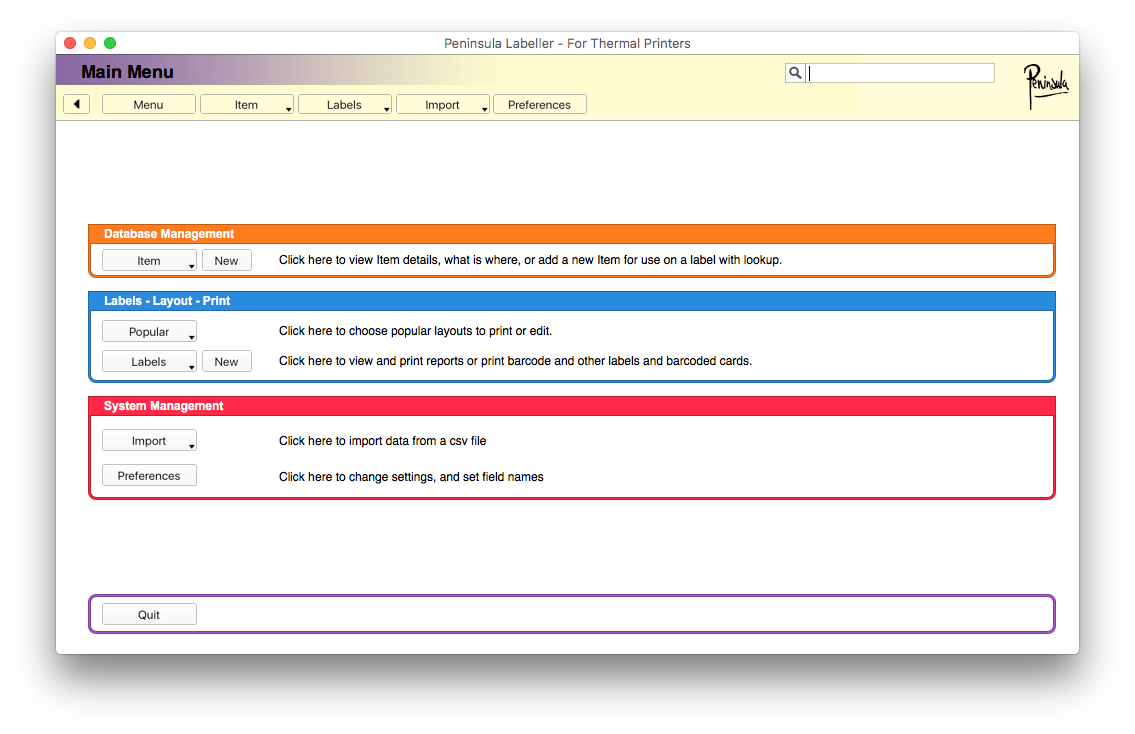
Open up the labeller software
b)
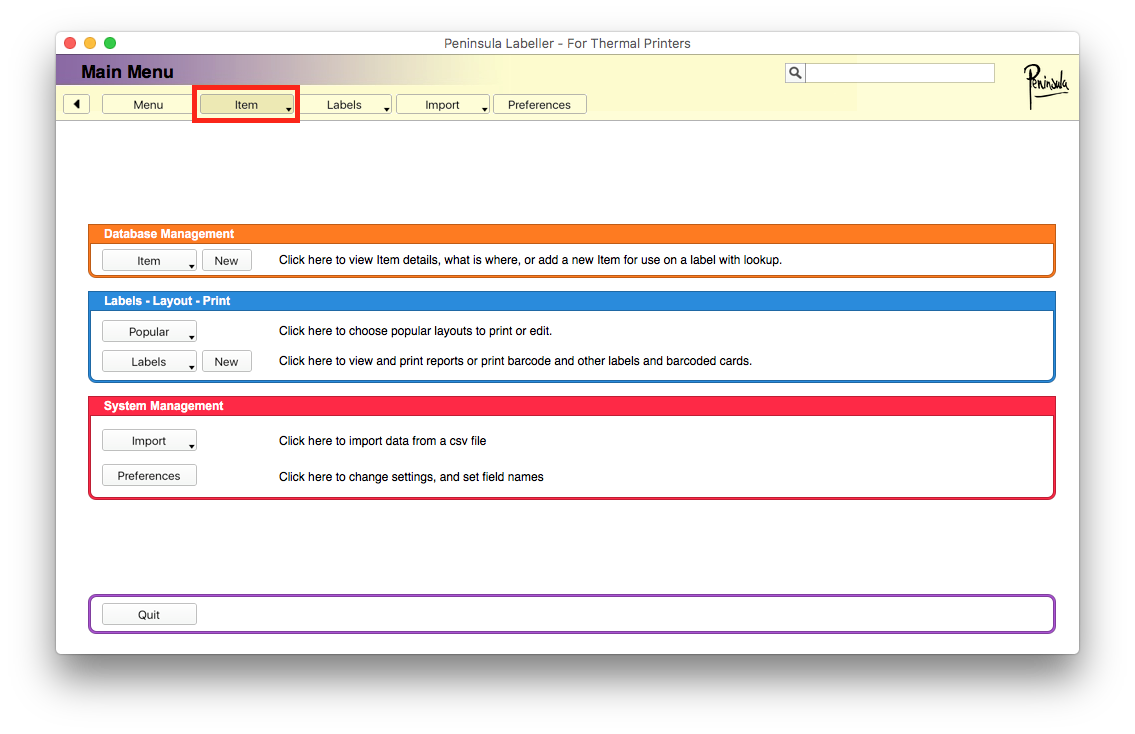
You will see a "Item" tab. This will be the second tab along on the top row.
c)
After clicking on the tab you will see a drop down menu, we want to click on the "item list" button.
d)
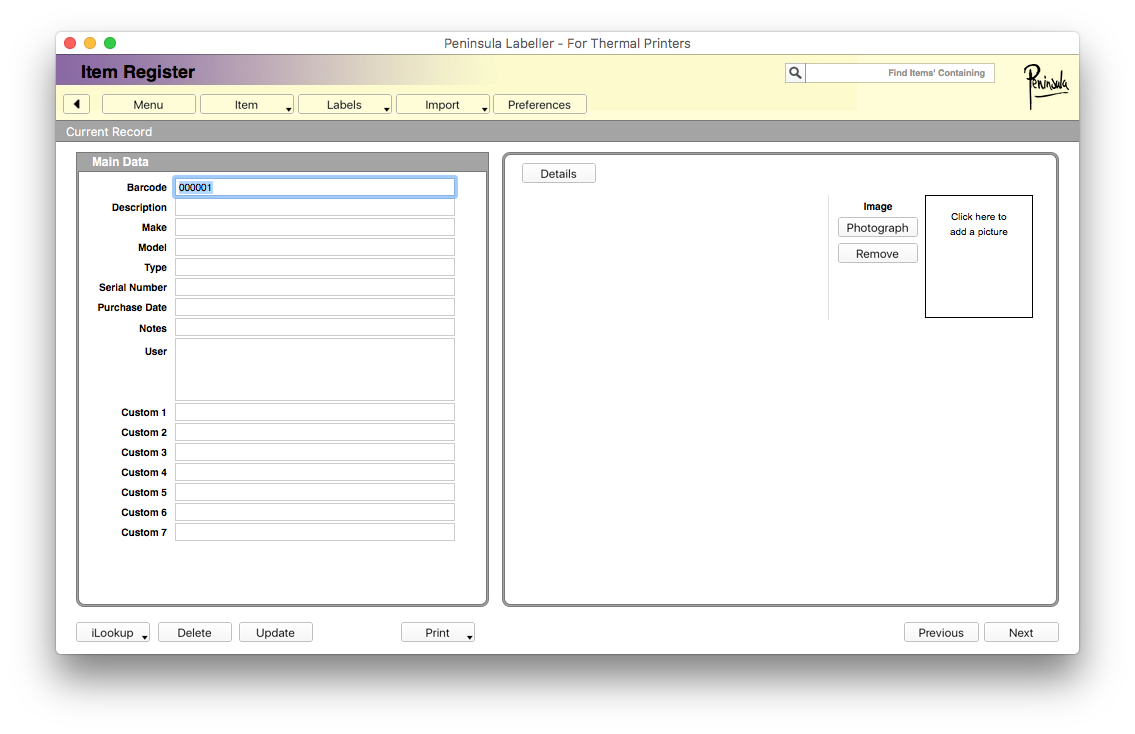
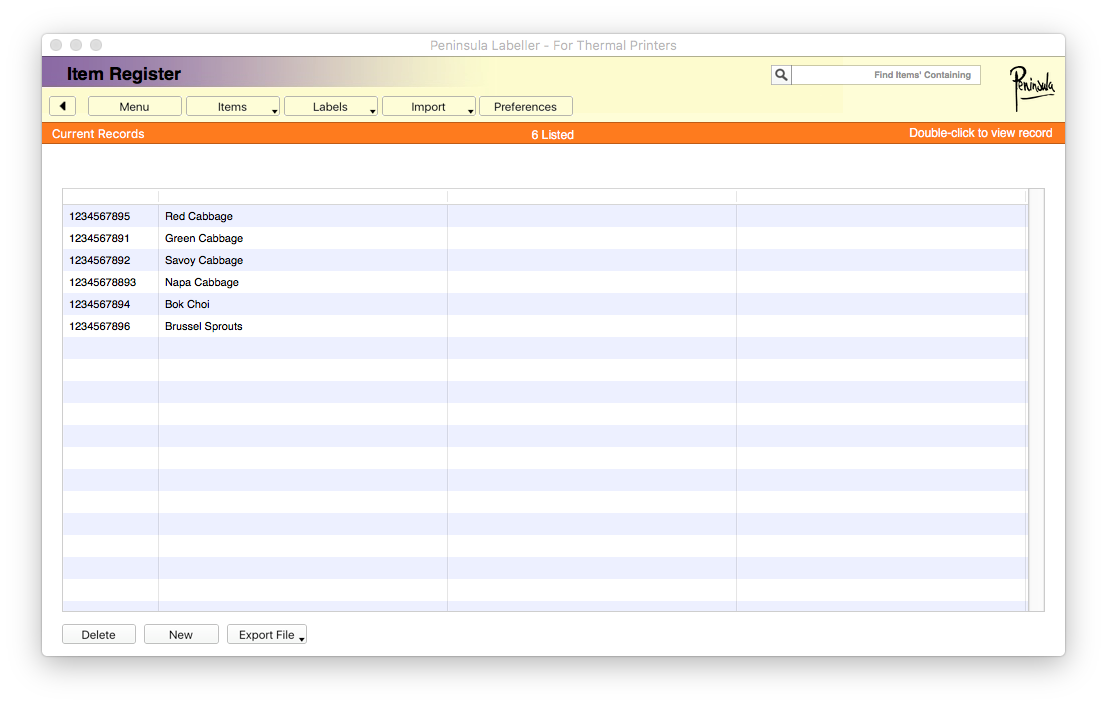
A new dialog will open, and you can create the items you wish to create in Labeller's database.
e)
Your item list should look similar to this. With your own items listed.
2. Creating the label.
a)
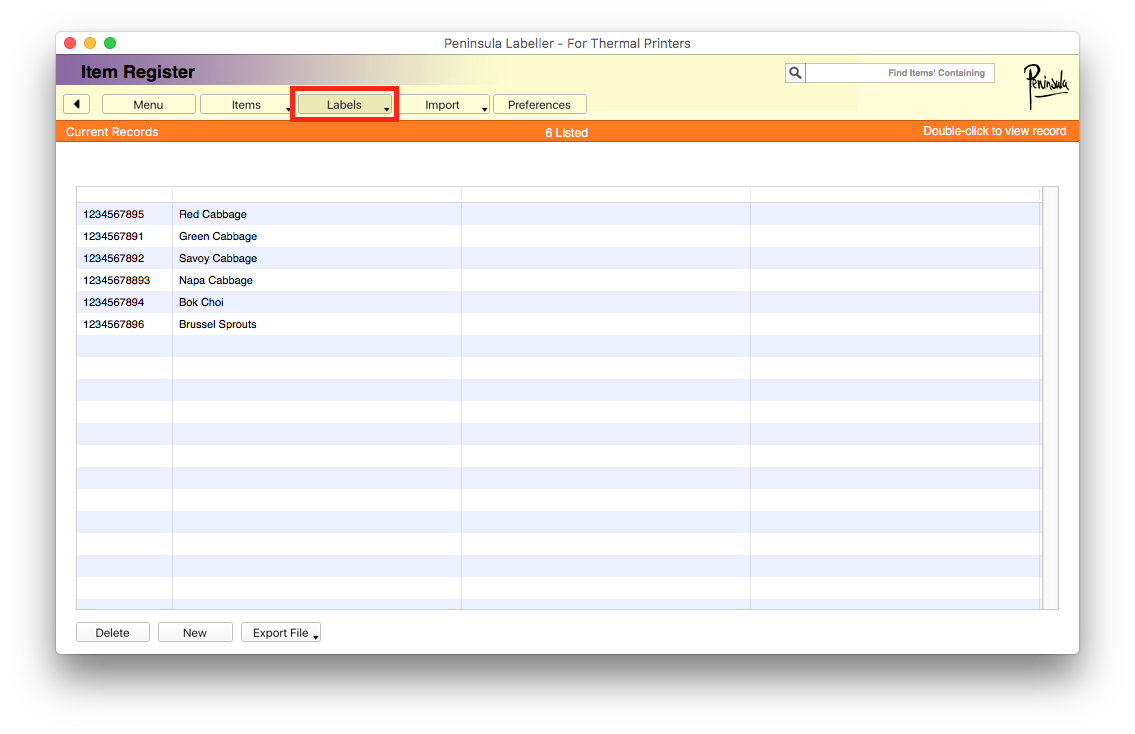
The next step is to go into the Labels tab.
This will be the third tab along on the top row.
b)
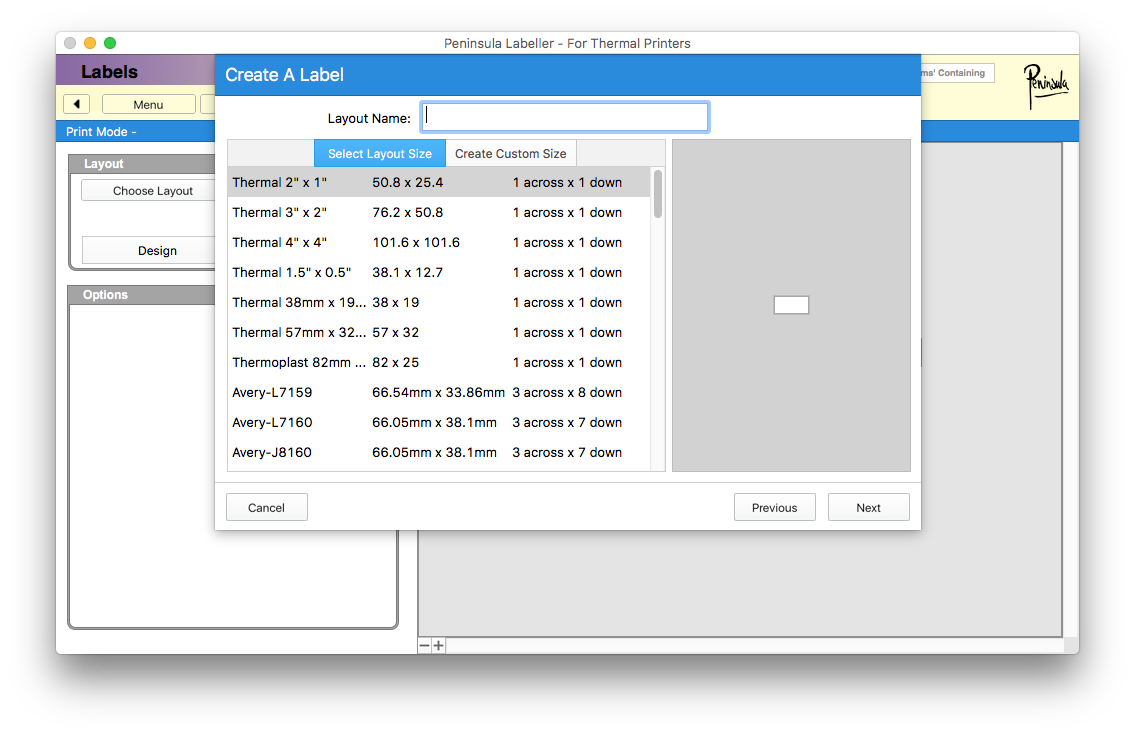
Click in the Labels tab and you will see a drop down menu.
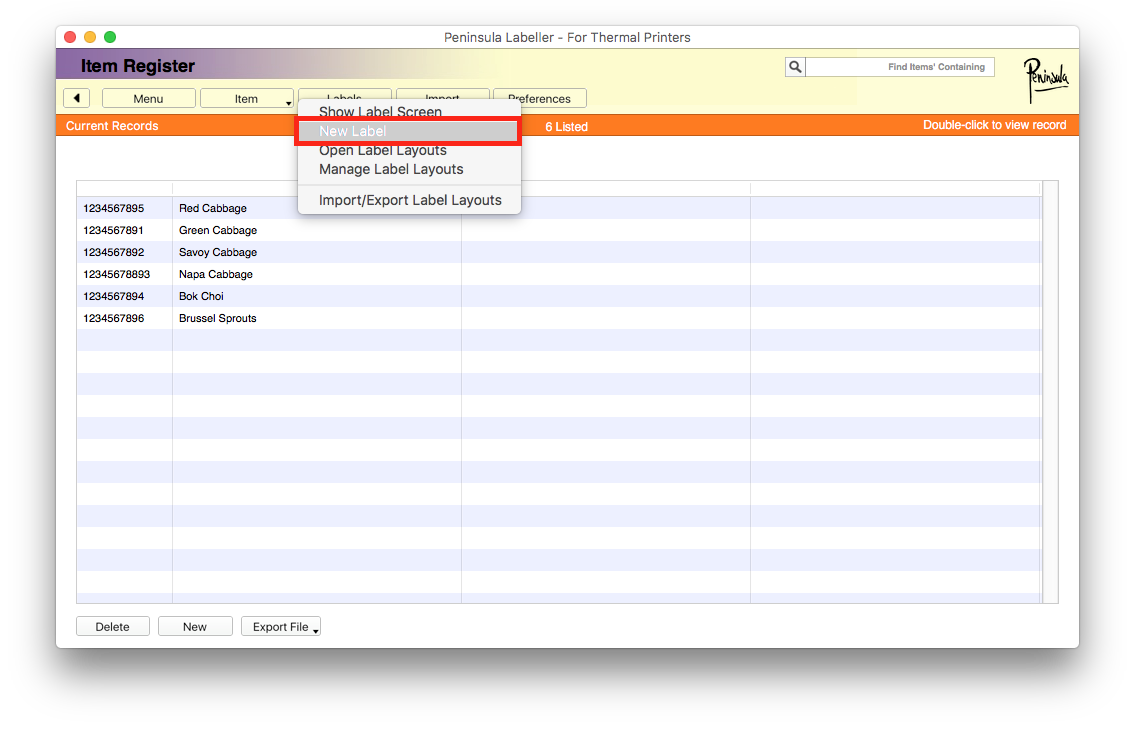
From the drop down menu click on "new label".
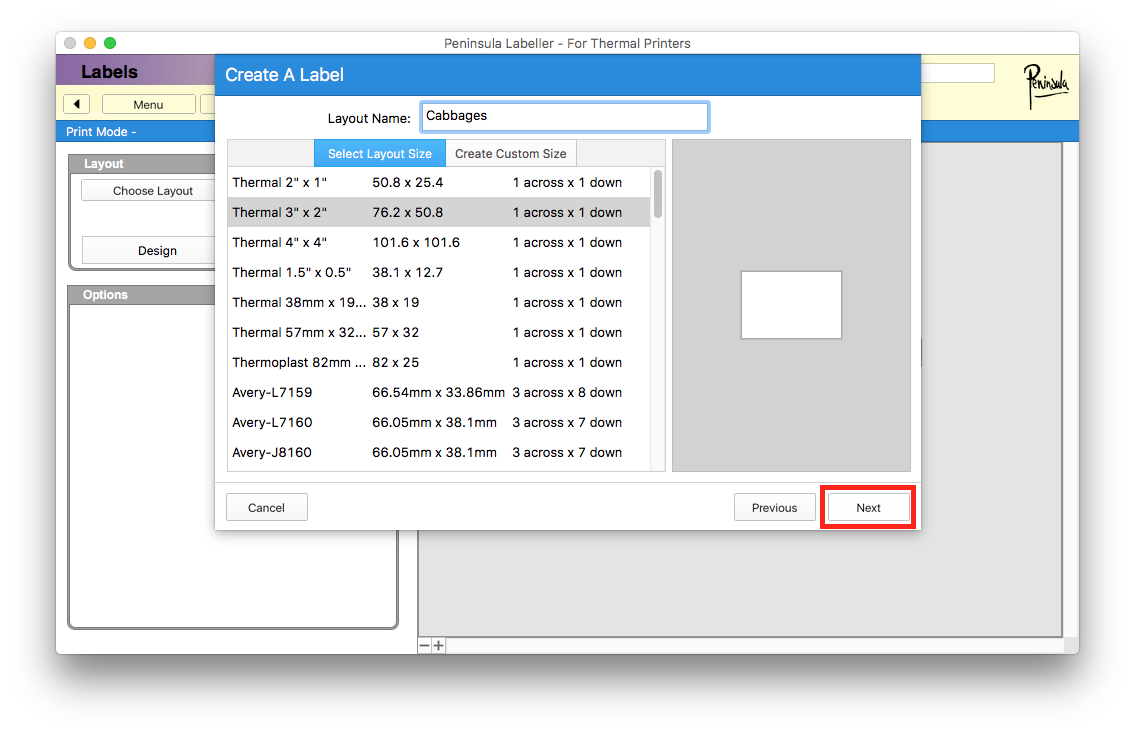
c)
The above dialog will show when you click on the "new label" button.
d)
Give your layout a name and select which label size layout you will be using.
when you have ensured you selected the correct layout size and given it a name click "next".
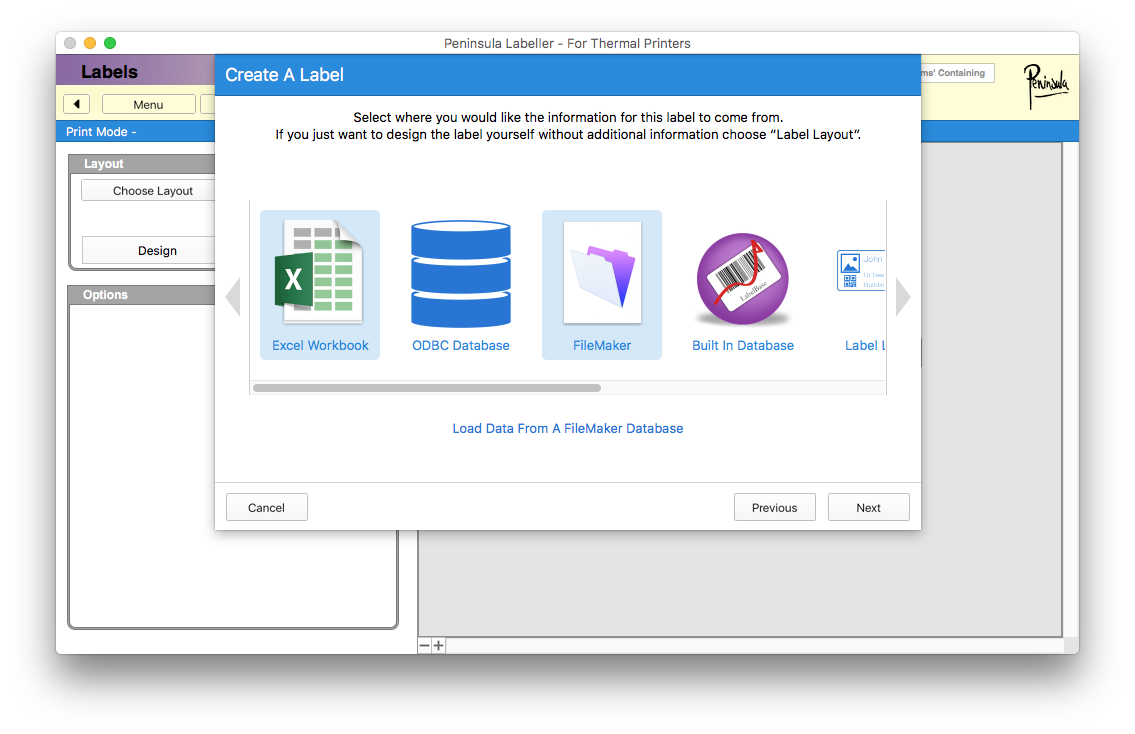
e)
After clicking "next" the above dialog will open.
In this dialog we will need to select where we are getting the information from.
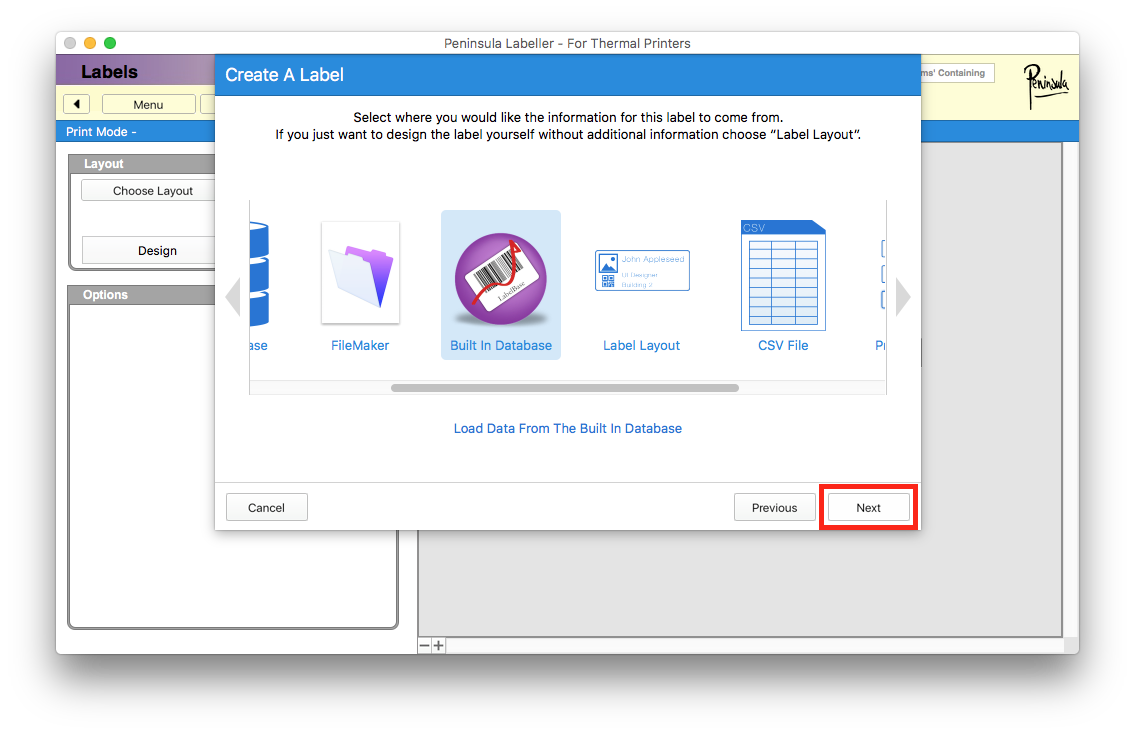
f)
Scroll through until you find "built in databse" and select that as we are using the labeller built in database.
Click "next" to continue.
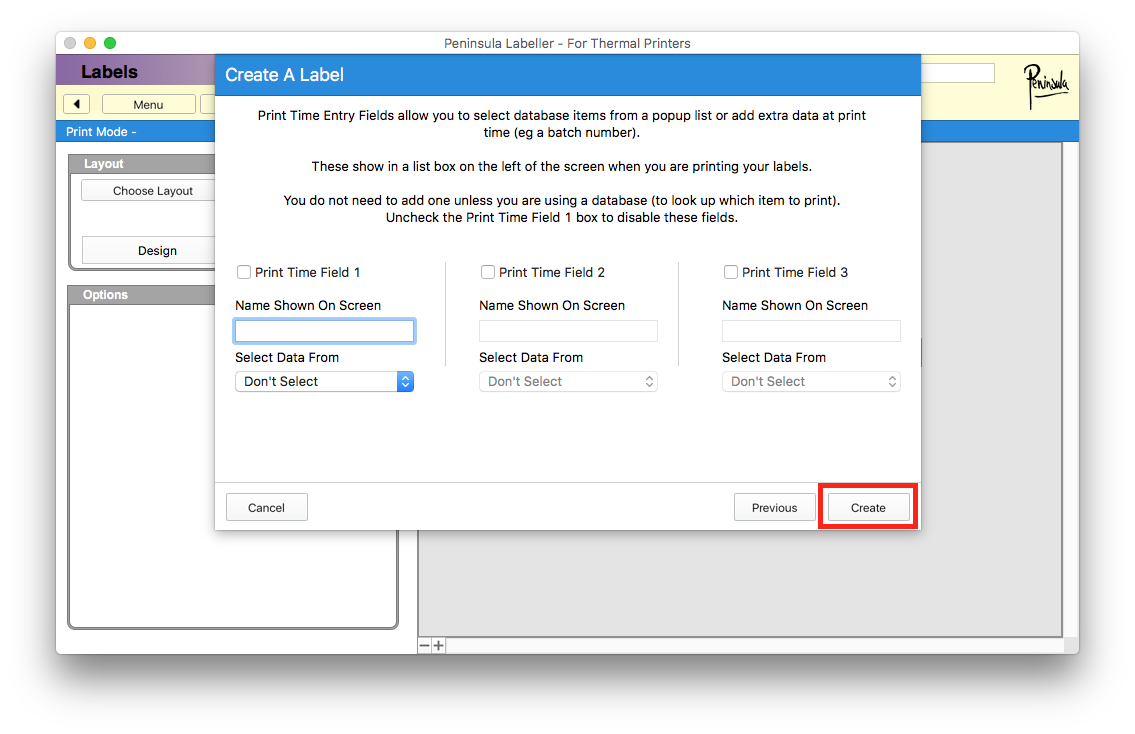
g)
After clicking "next" the above dialog above will open.
Simply click "create" to move onto the next step.
h)
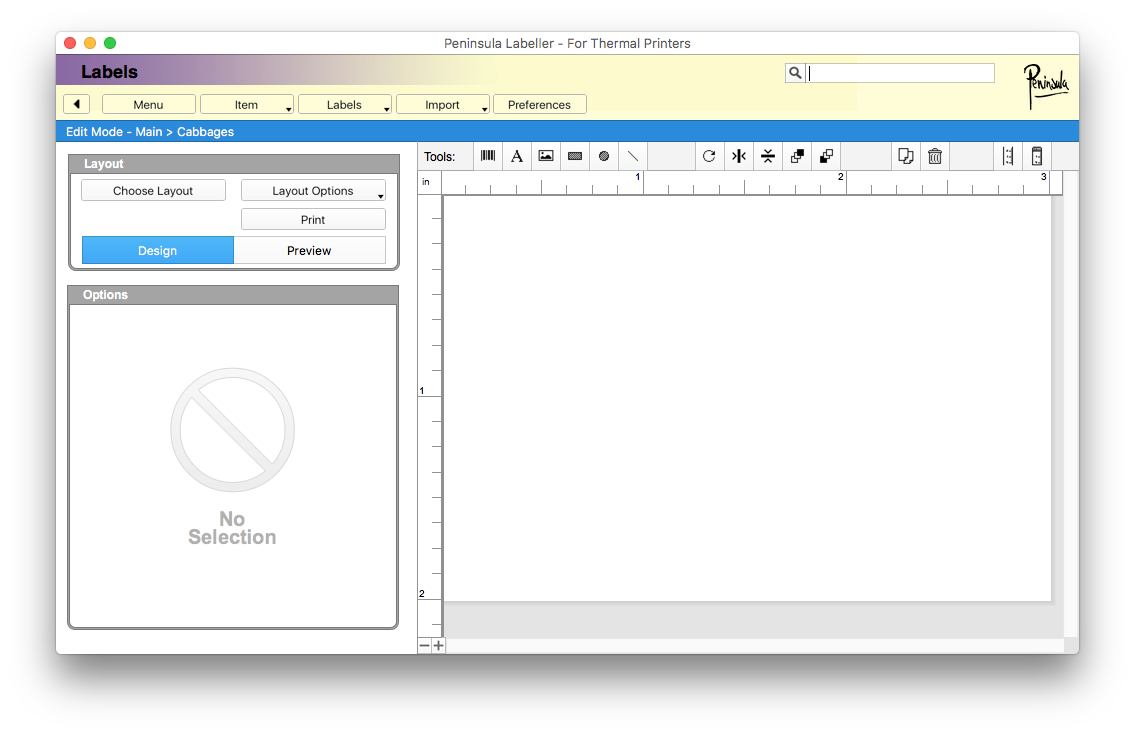
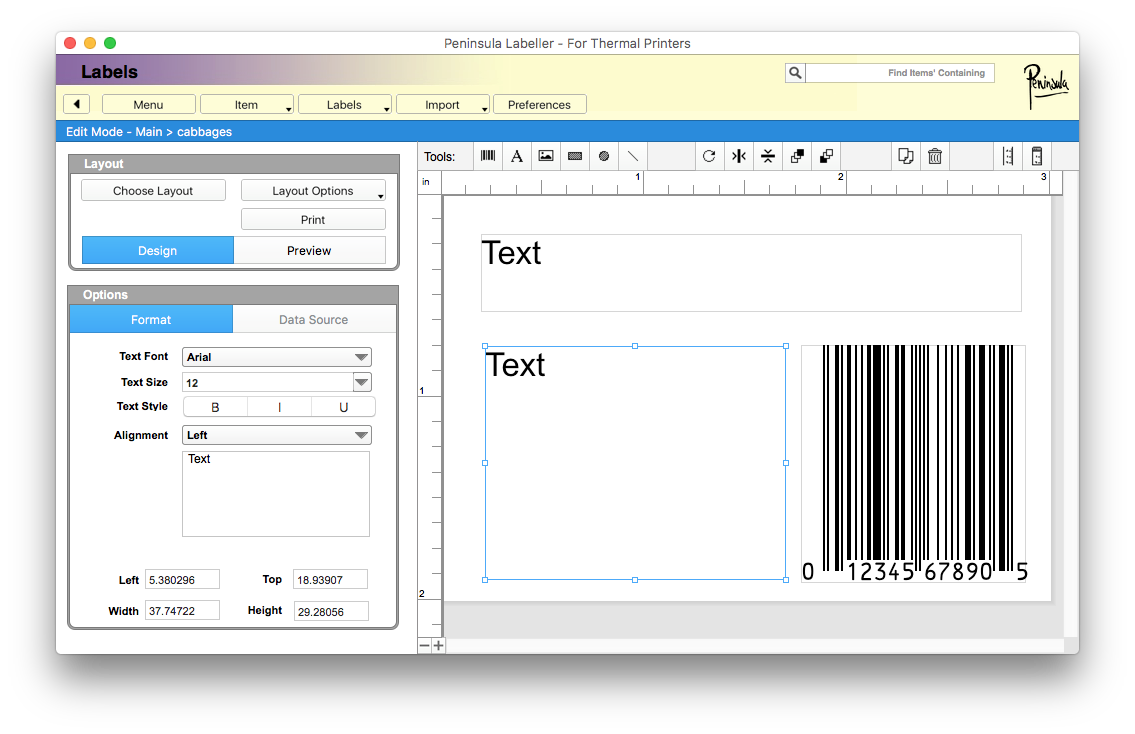
After clicking next we can finally create the label.
Your labeller software should look like the dialog above now.
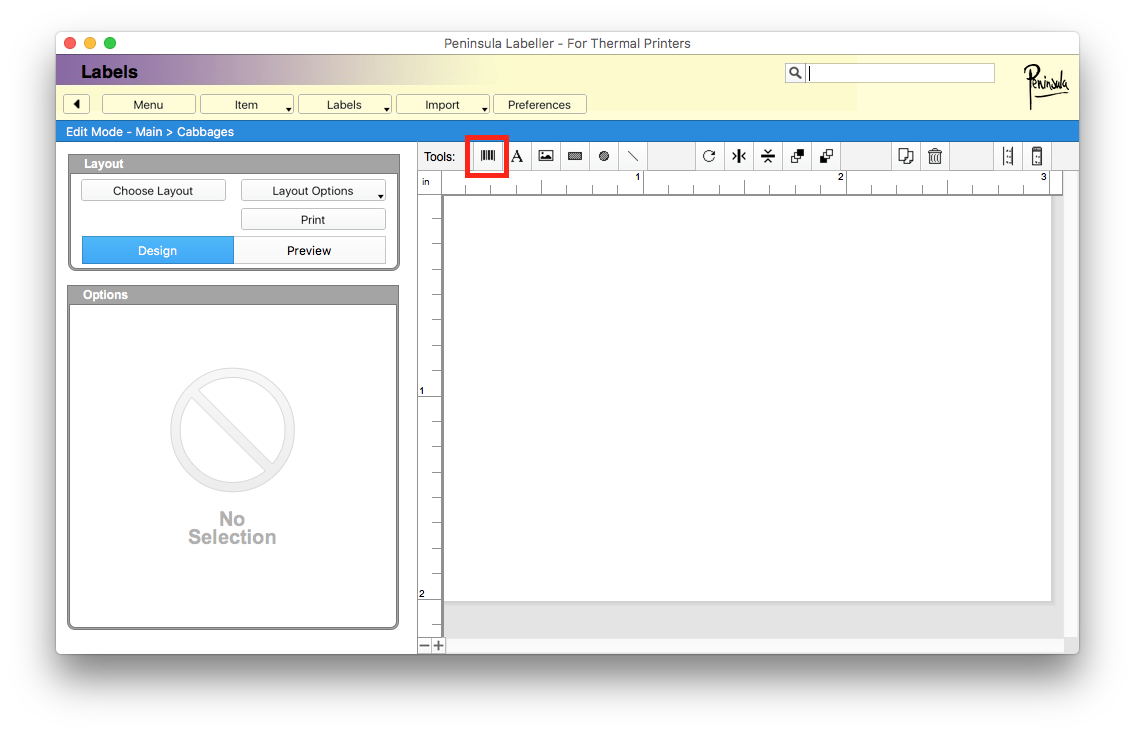
i)
To add a barcode field click on the small barcode icon in the tools bar.
we have annotated it with a red box for you.
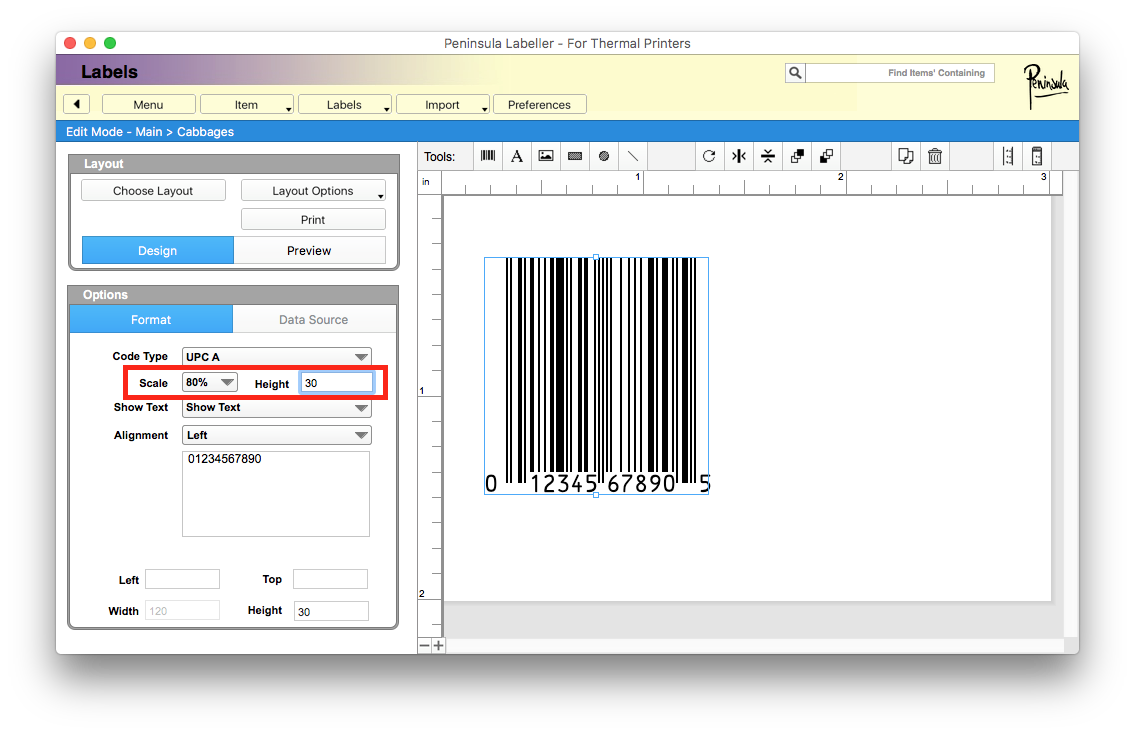
j)
After adding your barcode field, you can scale it to however you want it.
Here we have simply scaled it down to 80% and increased the height of it.
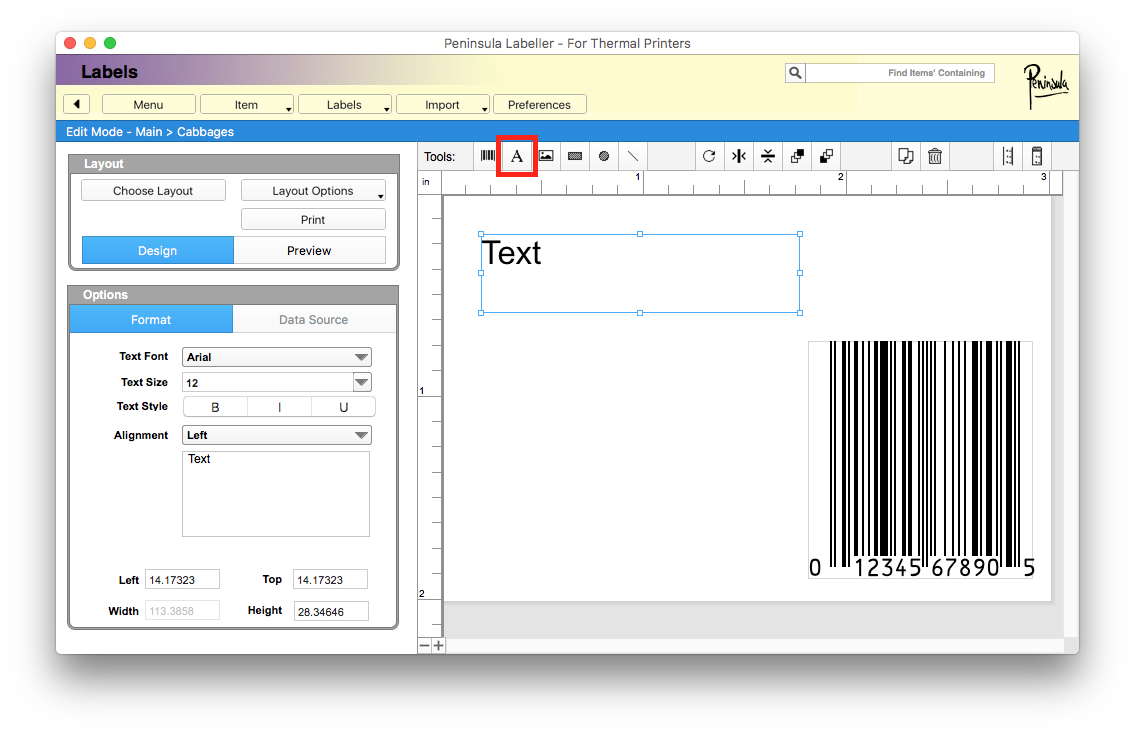
k)
Next we would add text fields. We do this by using the small "A" symbol.
We have annotated the symbol for you with a red box.
l)
Add any extra text fields you might need, we need two for the title and description of the product.
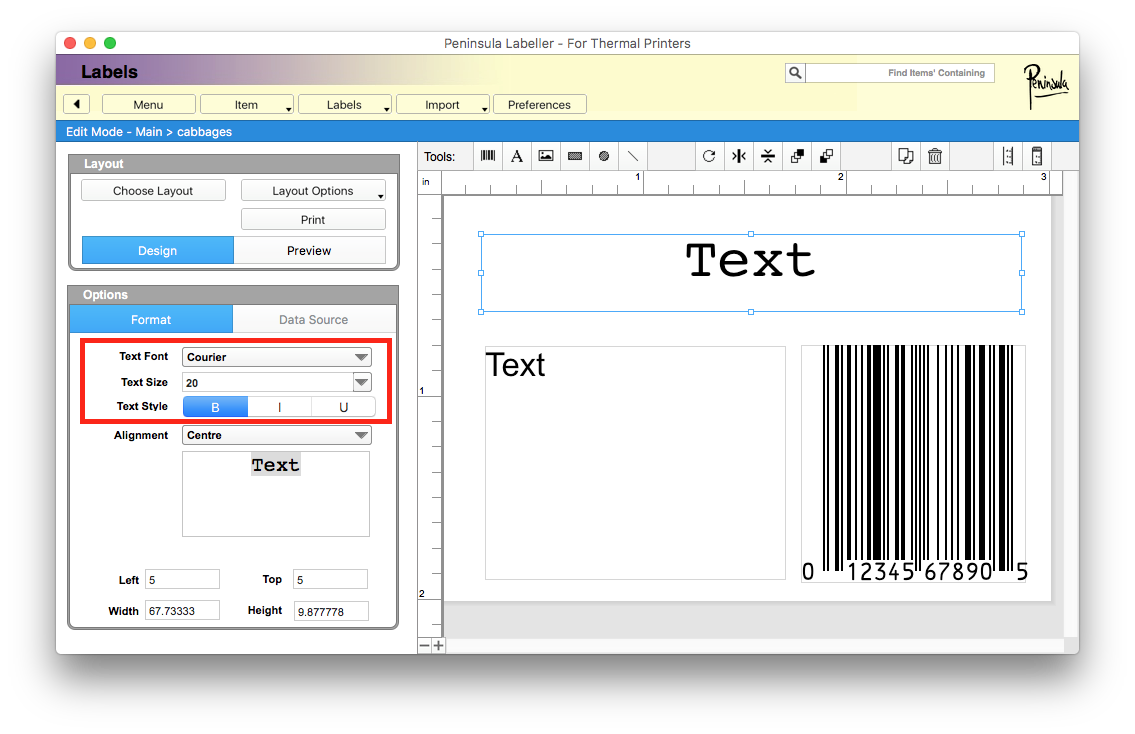
m)
You can style your text how you would like to.
You can change the text font, text size, text style and alignment.
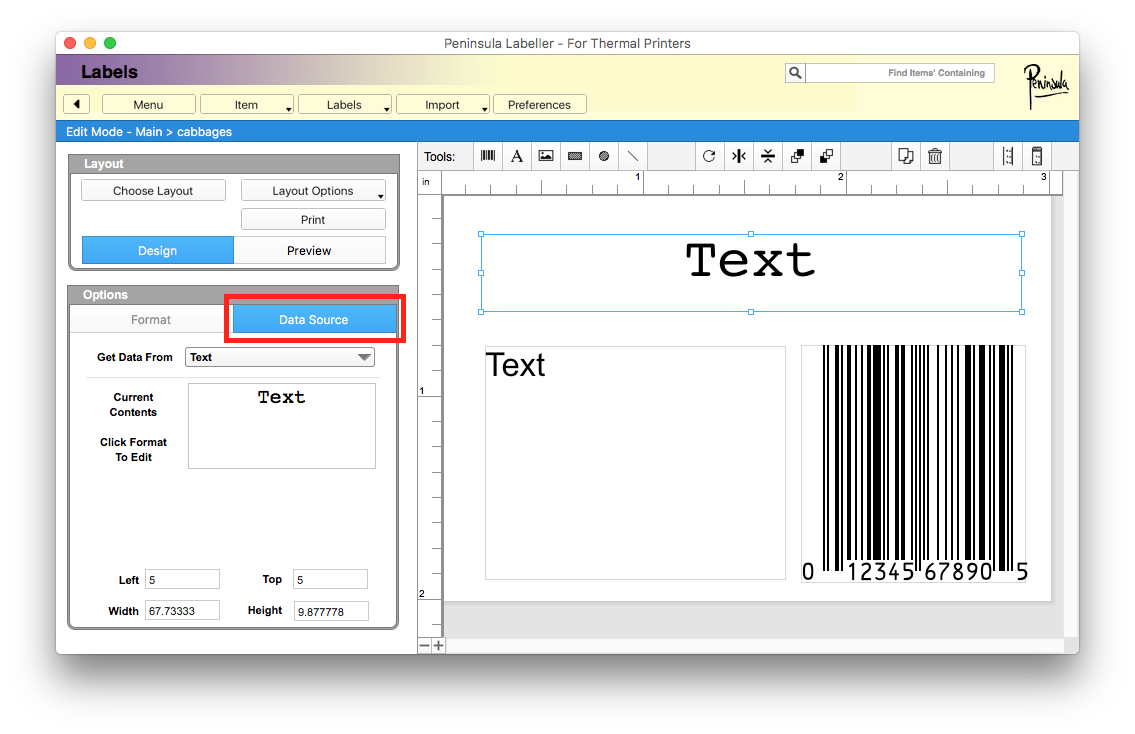
n)
Next switch to the "Data" panel.
o)
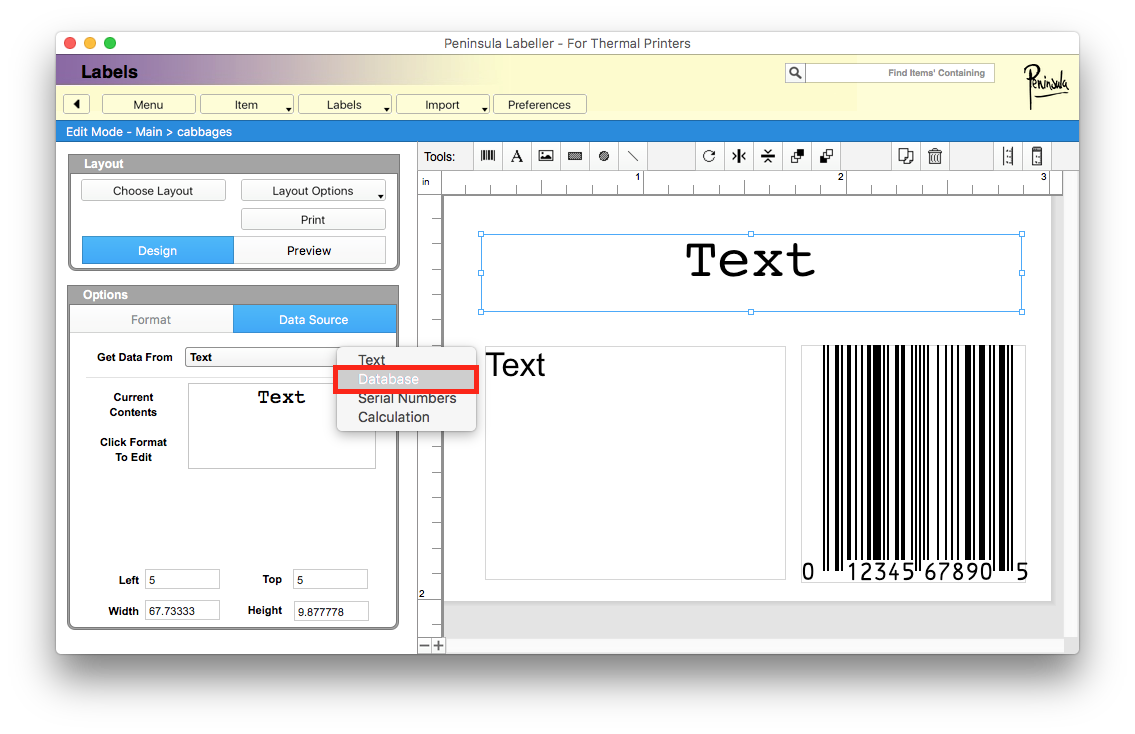
when your in the "data" panel. click on the "get data from" drop down menu.
Here you will need to select where you get your data from. You will need to select "Database".
We have annotated what you need to select.
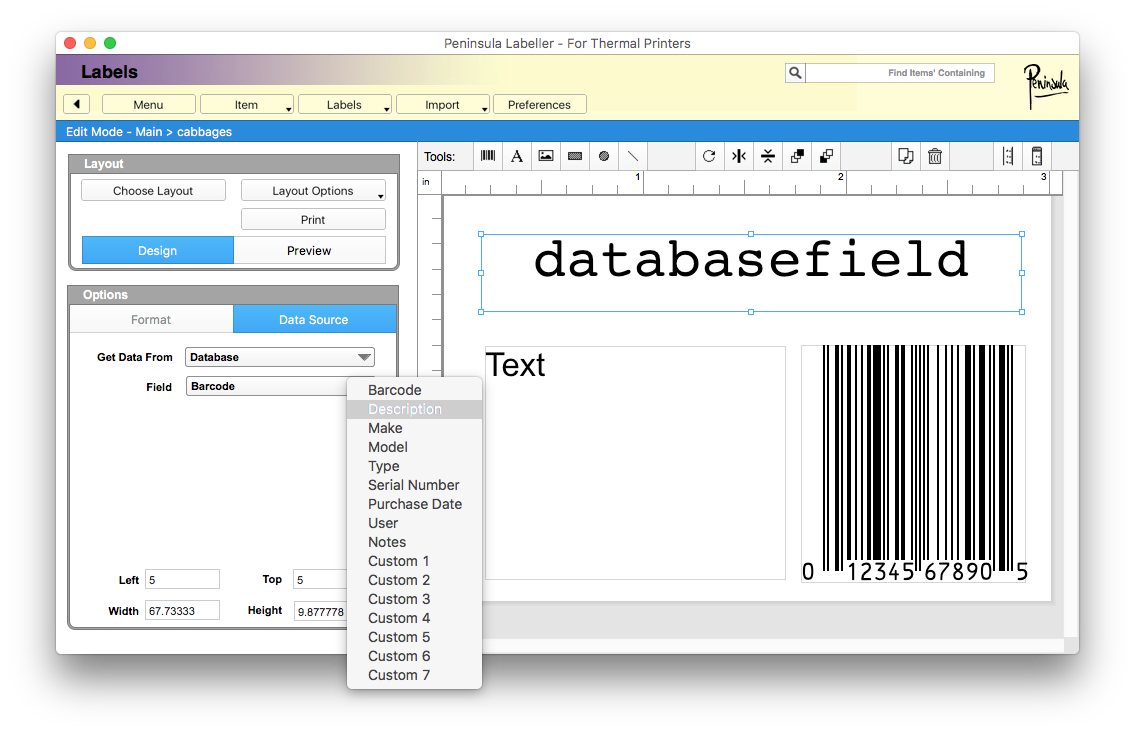
p)
Next, you will need to assign the fields from your database to the correct fields in your layout.
q)
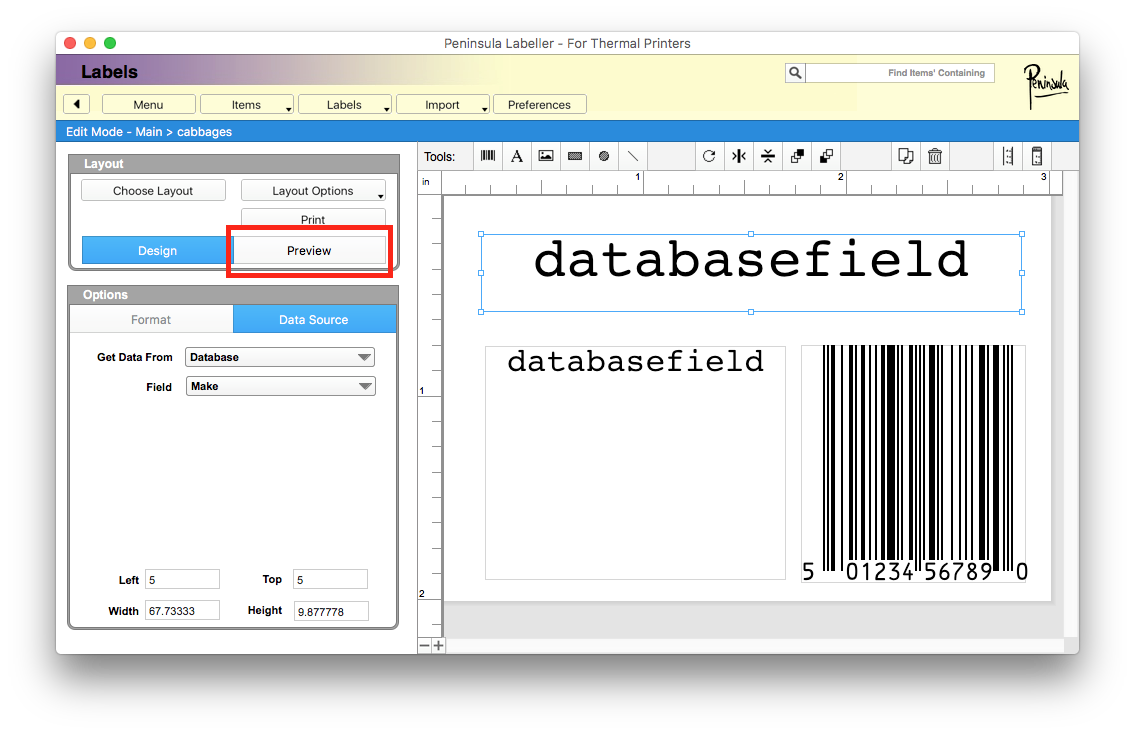
Next click Preview so you can see if your label is correct and the way you want it to look.
r)
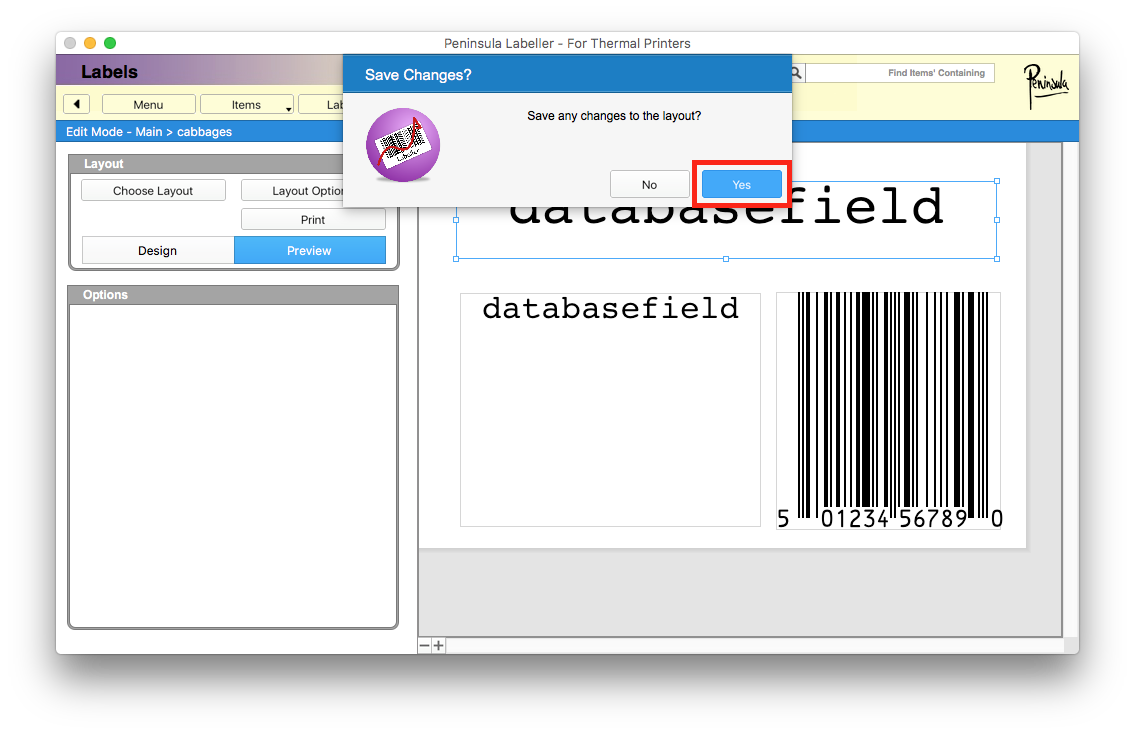
A small dialog will open asking you to save changes. click "Yes".
s)
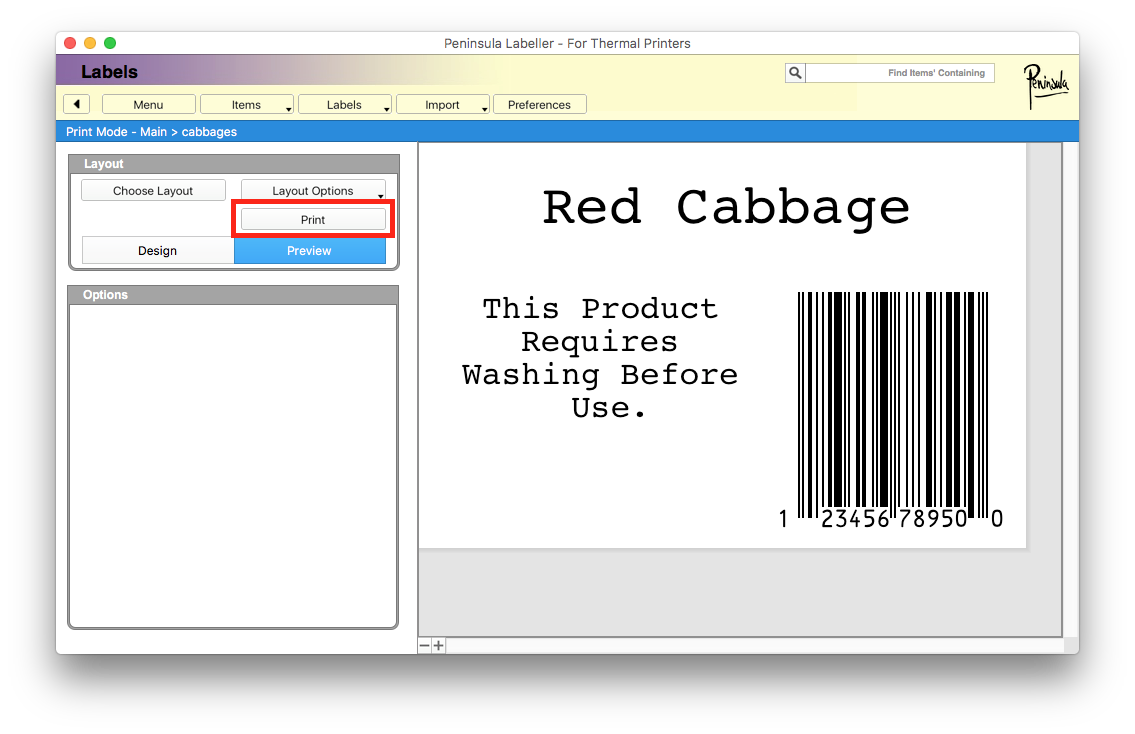
This is what our preview looks like and its all correct. Next we need to click print.
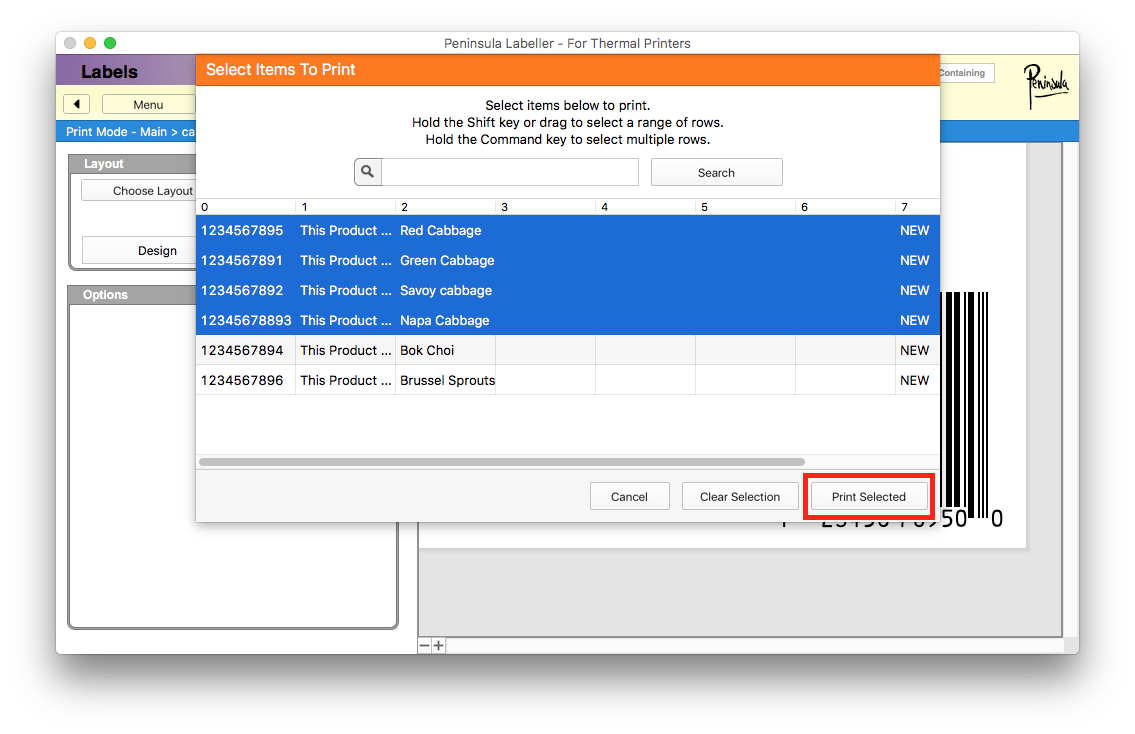
t)
After you have clicked print, the above dialog will open. You will need to hold the Alt key
and click which items you want to select to print.
Then simply click the print button.
Your labels will print.
If you still encounter any issues, please email our Technical Support at
tech@peninsula-group.com